Installation and configuration of system-groupware-3.0 on IPBrick v6.1
Contents
Starting point
The common starting point for these scenarios is:
- software version IPBrick.IC - v6.1, update 2
- version System-Groupware-3.0
- installation, basic configuration and network integration – the servers are operational and were previously configured to integrate the network (see Installation and Configuration Manual) (see IPBrick - Mail Server Configuration )
- operational email service – operational SMTP and IMAP in IPBrick.I (or IPBrick.IC) server, in which system-groupware will be installed – users have IMAP access to their account and can send (SMTP) mail through this server (see IPBrick - Mail Server Configuration )
Scenarios
Let us analyse the installation and configuration of system-groupware in two different scenarios:
- Scenario 1 – single server – stand-alone – a single IPBrick.IC server, which will serve the accesses through LAN and/or internet
- Scenario 2 – Multi-server – several servers, considering an IPBrick.I, where the application will be installed, and an IPBrick.C, which will work as a “front-end” (“reverse proxy”)for the internet
NOTE: On our scenarios we assume the following:
- IPBrick.I server – Intranet server that implements support (file server, database, web server) to internal network applications; in this specific scenario we assume that it also implements structural services of LAN (DNS, DHCP, DC/LDAP) and it's connected to the LAN (ETH0 interface) while the internet access connection/protection is done by some other equipment (IPBrick.C, router, firewall).
- IPBrick.C server – Communications server, which implements communications services (router, firewall, proxy, web server, reverse proxy), it's connect to the LAN (ETH0 interface) and also connected to the internet (ETH1 interface); it's the server that handles internet access connection/protection.
- Internet/Public Registers – we assume that the internet access has fixed public IP and the public DNS is configured in order to resolve GROUPWARE registers for public IP.
Example Values
For demonstration purposes, for these scenarios we assume the following configuration parameters:
- DNS domain: domain.com
- IPBrick.I (IPBrick.IC) server name: srv-ipbrick01.domain.com
- IPBrick.C server name: srv-ipbrick02.domain.com
Description of the Overall Functioning
Groupware service is installed and active in IPBrick.I (IPBrick.IC) server. The users access the service through the address:
This access can be performed through several applications/interfaces, for example:
- web browser – Groupware's natural interface to access mail (webmail), calendar/agendas and personal contacts book;
- EAS - Exchange Active Sync – interface for clients' smartphone/tablet and/or MSO2013 (EAS mode).
Clients may be able to access through the internal network of the organization (LAN).
Both scenarios are predicted to be accessed by users in the LAN and in the internet. However, for accesses through the internet, we recommend a configuration such as the one described in Scenario 2 – see description below.
Email/Groupware Client
For a standard configuration of a groupware client we recommend IPBrick - Groupware Client.
Scenario 1 – Single server
A single IPBrick.IC server that implements intranet (DNS, DHCP, DC/LDAP) and communications (firewall, proxy) services. Additionally it also implements email services (SMTP/IMAP) of and for internet as well as for LAN.
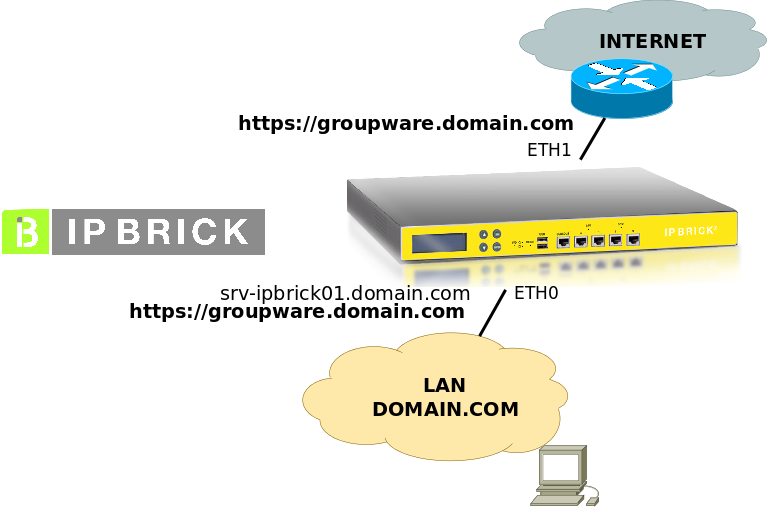
Network diagram:
Initial Configurations
The server is installed and configured with IPBrick.IC v6.1, and, after that, updates 1 and 2 are installed. Internet access is operational, all services are operational.
Access IPBrick's web interface, if there are pending configurations it will be necessary to Apply Configurations.
Groupware Updating
Access IPBrick's web interface, go to Advanced Configurations » IPBrick » Update and download the update File:System-groupware 3.0 all.deb.
Apply Configurations.
Groupware Configuration
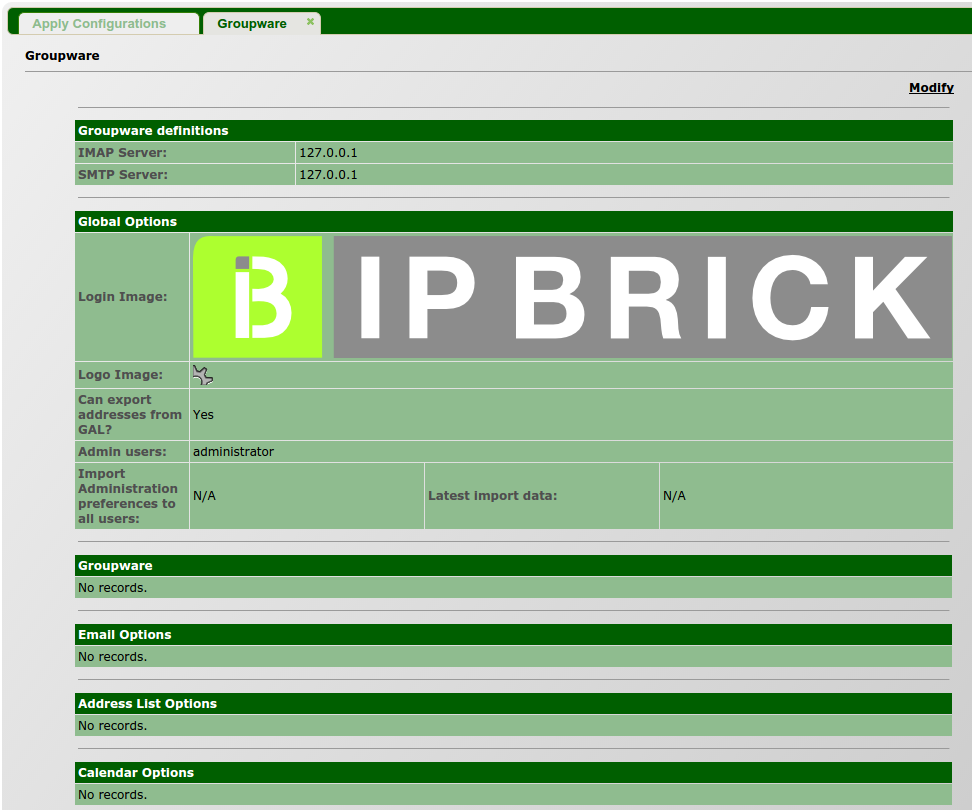
Access IPBrick's web interface, menu IPBrick.C » Groupware. Then, set up:
- IMAP server address, change to 127.0.0.1
- SMTP server address, change to 127.0.0.1
- logo of the login page, upload the intended image (PNG) here to be presented in the login page (see note below)
- logo to be presented inside the application, upload the intended image (PNG) here to be presented inside the application (see note below)
- define users with administrative privileges
- confirm changes by clicking on modify
- NOTE: After confirming changes, the images/logos may not be shown immediately; for that, you need to Apply Configurations and clean the browser's cache
Apply Configurations.
First Access
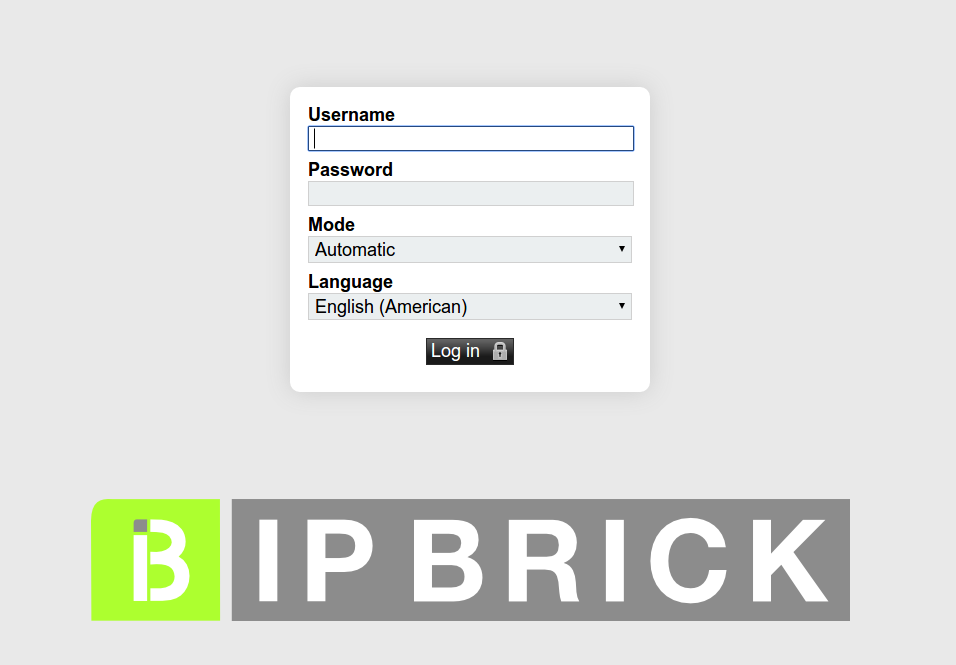
Access the application through a web browser:
Log in with the administrative login of the user, which was defined previously.
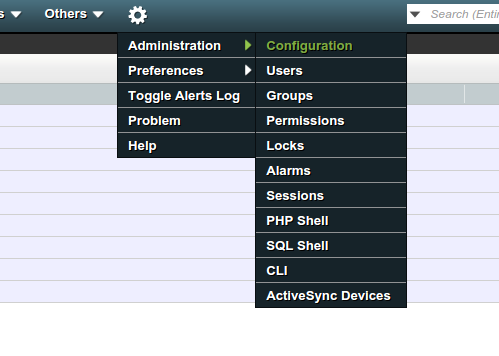
Access the menu Configurations » Administration.
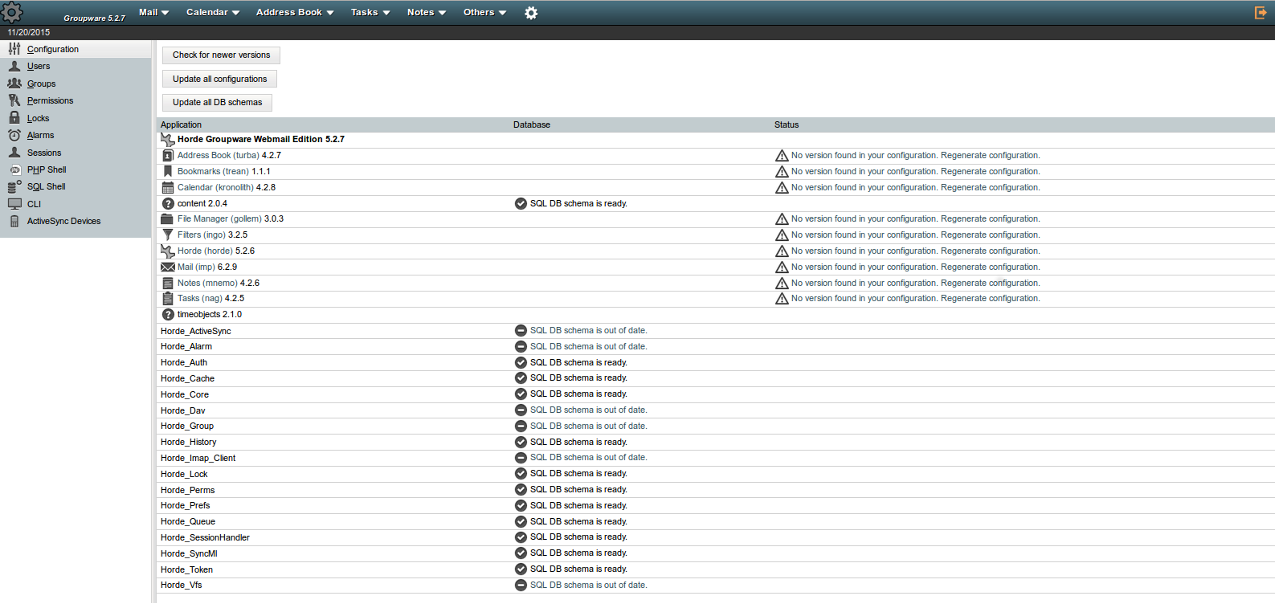
Update database schemata (Update All DB Schemas):
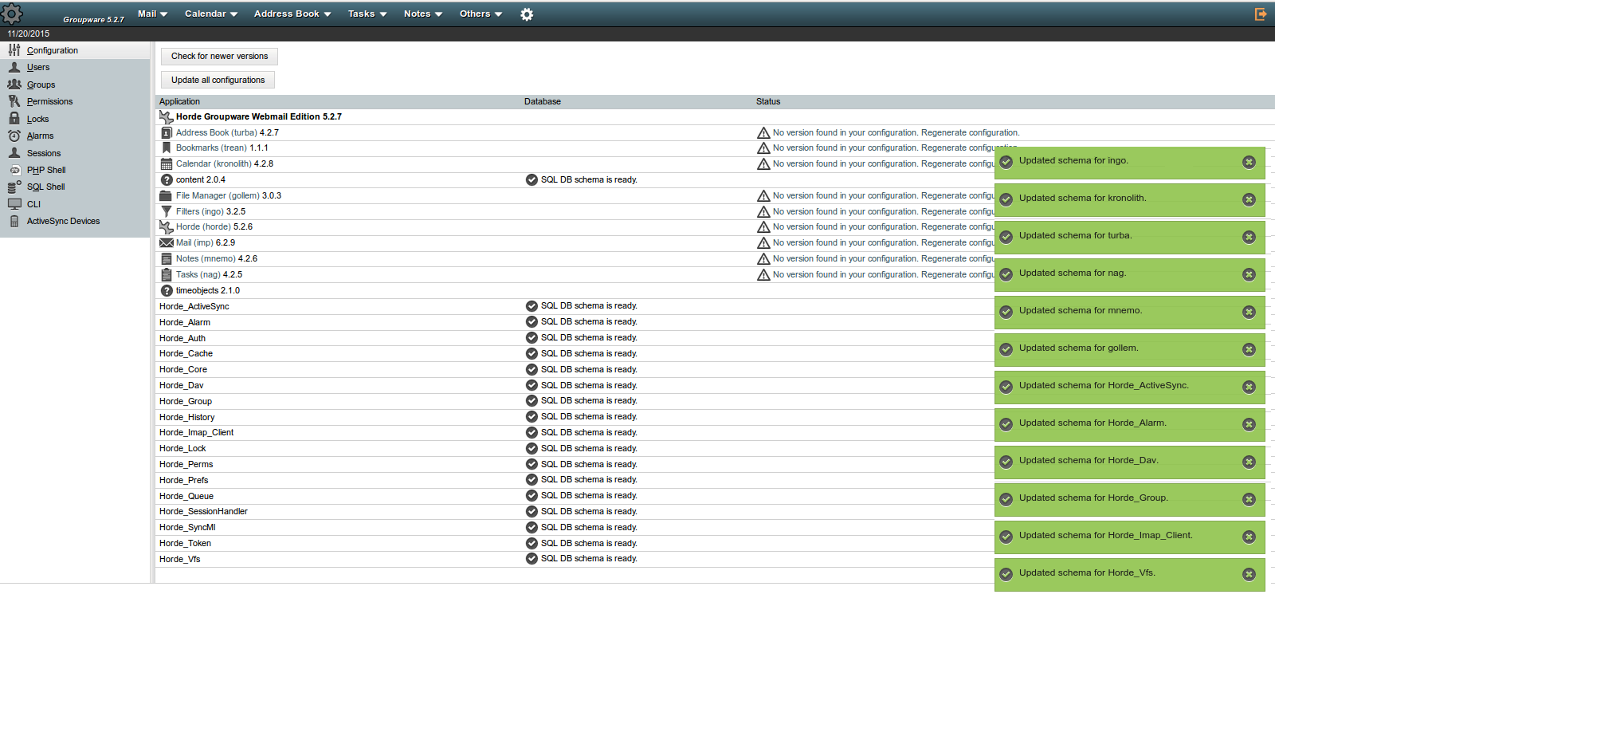
Click on Update All DB Schemata:
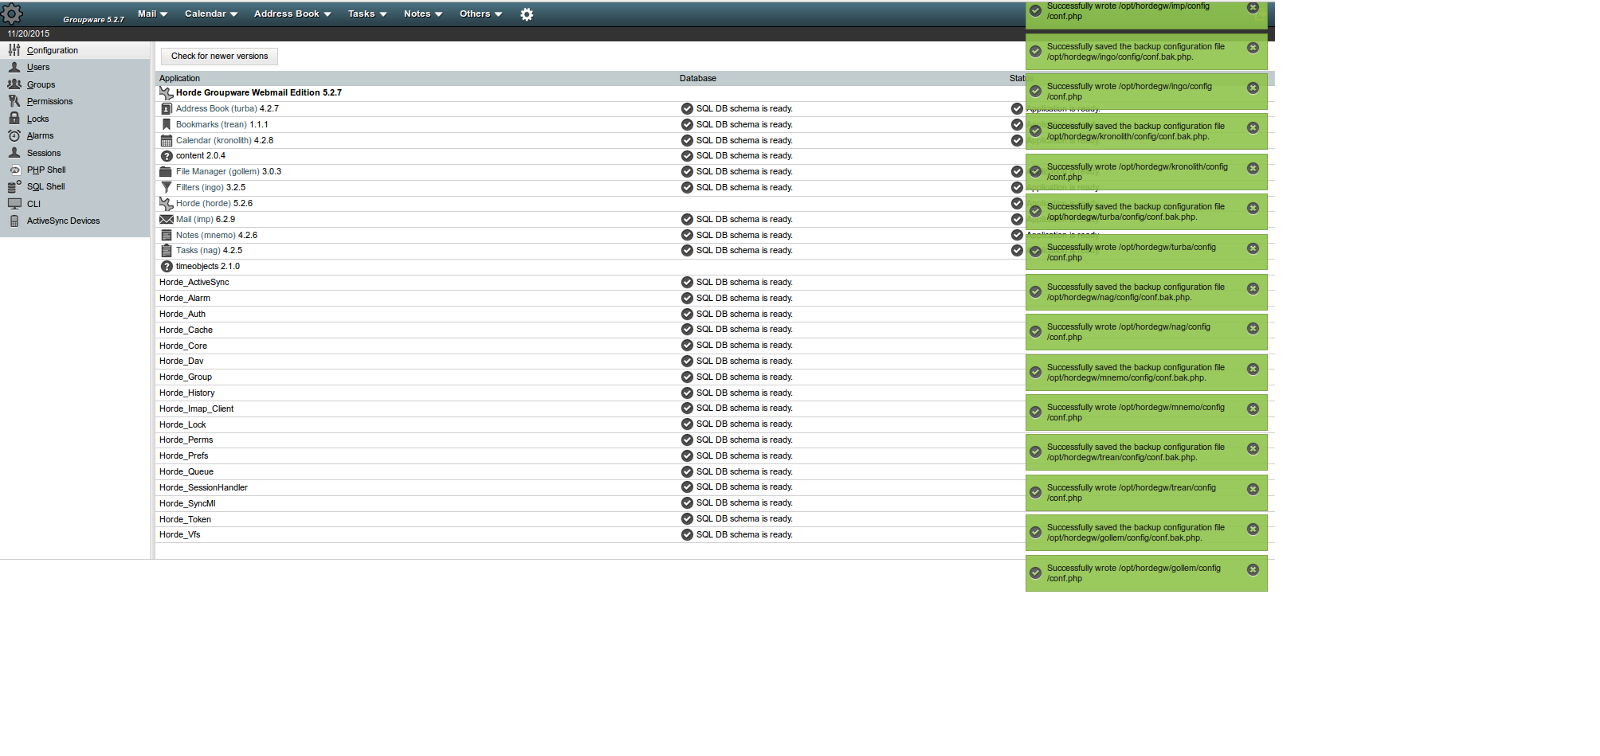
Update configuration files, click on Update all configurations:
And it's ready to use.
Scenario 2 – Multi-server
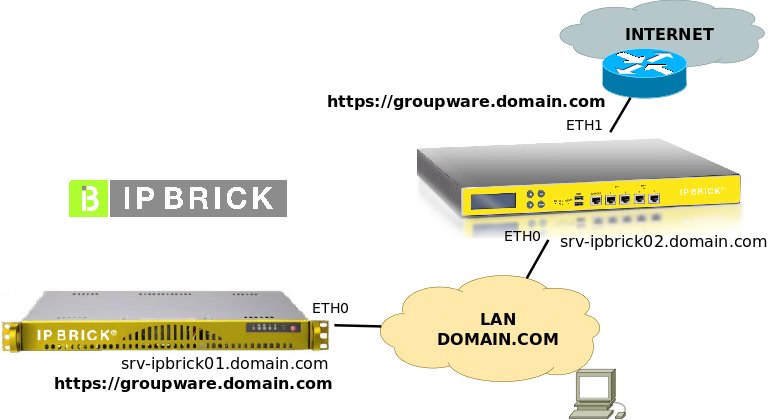
This scenario is composed by two servers: an intranet server and a communications server.
Network diagram:
“NOTE: before you proceed with the description/implementation of this scenario, we recommend that the reader carefully analyses the steps described in Scenario 1. The following steps of this procedure refer to procedures mentioned in the previous scenario.”
Initial Configuration
In the initial configuration process, both servers are installed and network configured. Summary:
- two servers installed with IPBRICK v6.1, updates 1 and 2
- email service is configured and operational
- email service (SMTP/IMAP) is operational and users use the intranet serve to send and receive mail
- communications server will be configured to publish groupware.domain.com through a reverse proxy
Access IPBrick.I's web interface (srv-ipbrick01), if there are pending configurations it will be necessary to Apply Configurations.
Groupware Updating
Groupware is updated only and solely on the intranet server (srv-ipbrick01). Follow the procedure described in: Groupware Updating.
Groupware Configuration
Groupware is configured only and solely on the intranet server (srv-ipbrick01). Follow the procedure described in: Groupware Configuration.
First Access
Groupware is configured only and solely on the intranet server (srv-ipbrick01). Follow the procedure described in: First Access.
Internet – Reverse Proxy
The publishing of the groupware service in the internet is performed on the communications server (srv-ipbrick02). Access the web interface, menu IPBrick.C » Web Server, select virtual-host groupware.domain.com, click in Reverse Proxy and insert:
Insert.
Apply Configurations.
From this moment on, internet accesses that reach the communications servers (srv-ipbrick02) to the address https://groupware.domain.com, are forwarded to the intranet server (srv-ipbrick01).
Version 3.0
Currently, system-groupware is in version 3.0 (3.0 Release Candidate 1), so it may still contain aspects to be improved.
In this section we register some known situations and its correspondent manual solutions.
imp - config -prefs.local.php
This situation occurs occasionally in updates of installations that were already in production stage . Until this time this problem didn't happen in new/clean installations.
Symptoms:
- in the update installation screen, right after inserting the update, it is inserted a message referring to the file /opt/hordegw/imp/config/prefs.local.php
- the login page is presented normally; however, after inserting the right credentials we get a white window – the server doesn't return any information
Solution:
- access the terminal and edit the file /opt/hordegw/imp/config/prefs.local.php
- check the following contents:
$_prefs['sent_mail_folder'] = array(
    // NOTE: Localization of this name for display purposes is done
    // automatically. To change the default value based on the backend, see
    // the 'special_mboxes' option in config/backends.php.
    'value' => 'Sent Items'
);

$_prefs['filter_on_login'] = array(
    'value' => 0,
    'type' => 'checkbox',
    'desc' => _("Apply filter rules upon logging on?"),
    'help' => 'filter-on-login',
    'suppress' => function() {
        return !IMP_Filter::canApplyFilters();
    }
);

$_prefs['filter_on_display'] = array(
    'value' => 0,
    'type' => 'checkbox',
    'desc' => _("Apply filter rules whenever Inbox is displayed?"),
    'help' => 'filter-on-display',
    'suppress' => function() {
        return !IMP_Filter::canApplyFilters();
    }
);
- edit the highlighted lines:
 ...
 'value' => 'Sent Items',
 ...
 'value' => 0,
 ...
 'value' => 0,
 …
- after editing the file, it becomes to possible to enter groupware and proceed with the rest of the configuration (Update DB Schemas, Update All Configurations).
