VoIP FAQS Configure SIP account with and without TLS certificate
From wiki.IPBRICK.COM
Contents
With TLS Certificate
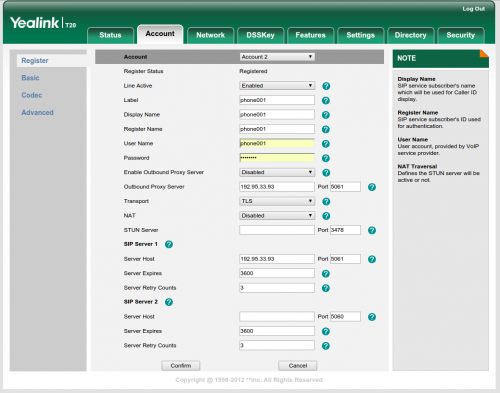
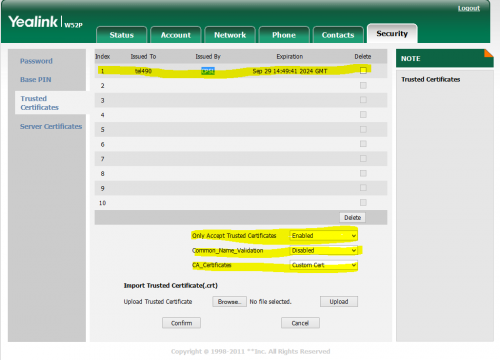
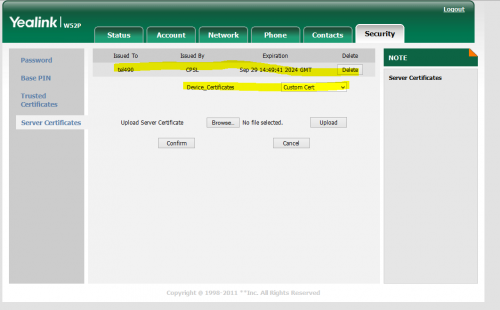
Yealink
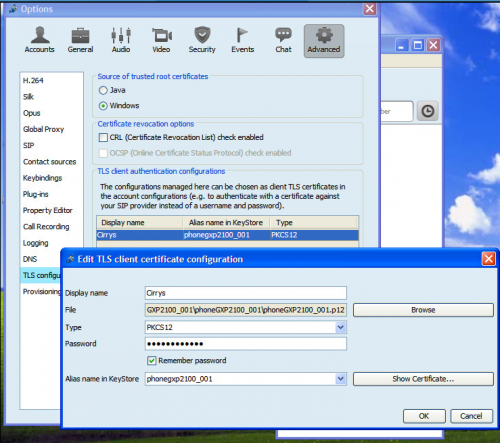
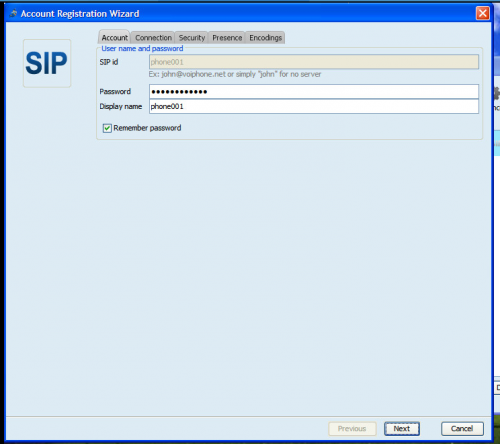
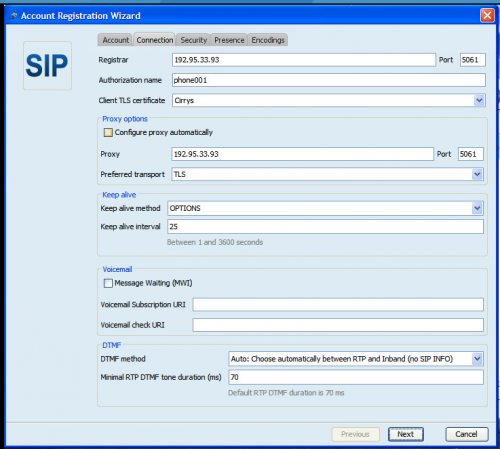
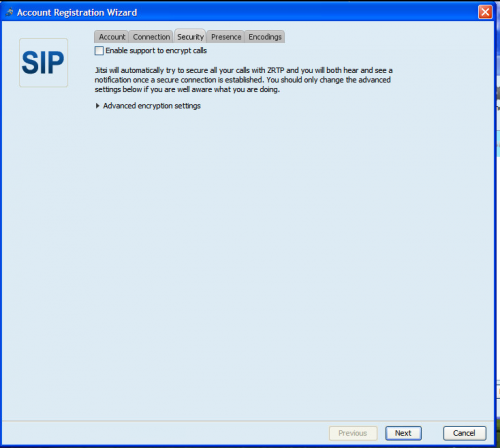
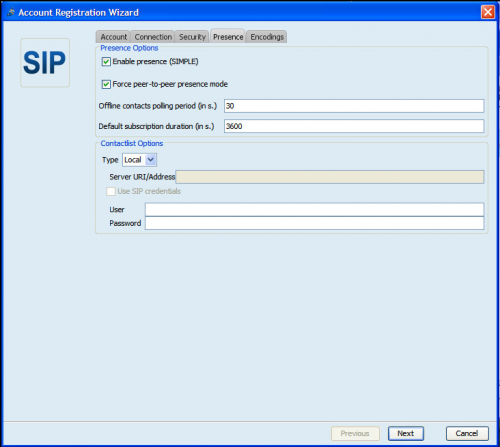
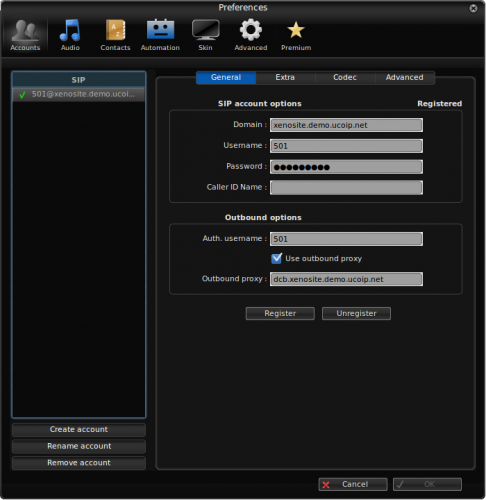
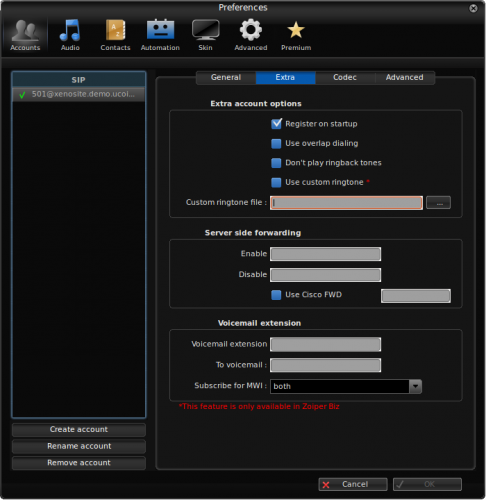
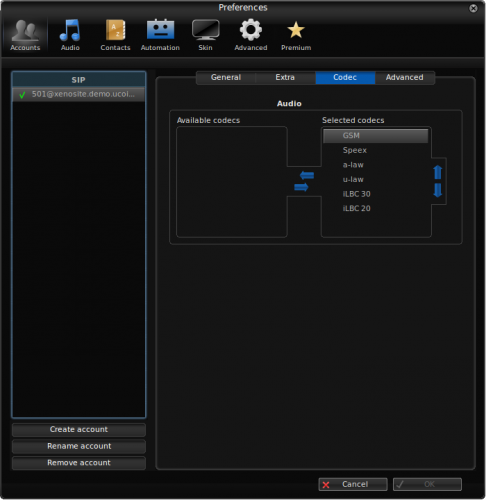
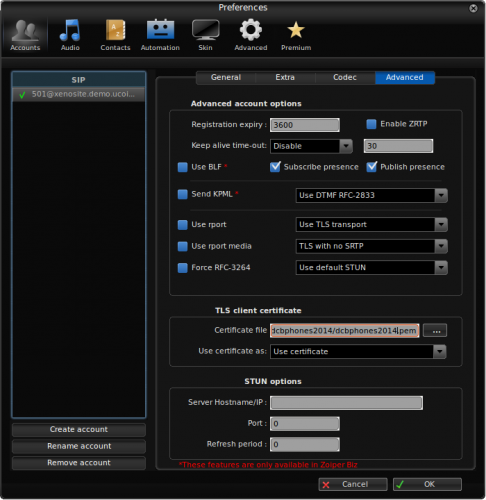
JITSI
ZOIPER
CSIP SIMPLE
- Install csipsimple;
- Open csipsimple and add an account using the "wizard" inside of "Generic wizards", "Basic";
- Fill Account name, user, server and password and then Save;
- Press continuously on the account until it appears a sub-menu, then choose "Choose wizard", followed by "Generic wizards", "Expert";
- Click on the account and modify the option "Transport" for TLS. Save configurations. At this time, the account may not work yet, so it's necessary to proceed with the following steps:
- Back to the initial menu, click on the options button (mobile phone) and choose "Settings";
- Click on the options button and choose "Expert Mode";
- Click on Network and, after that, on Secure protocol;
- Enable TLS transport;
- Modify TLS Method for TLSv1;
- Modify TLS CA file with the location of CA file;
- Modify TLS certificate file with the location of "file";
- Modify private key file with the location of file;
- Go back to the initial menu.
Without TLS Certificate
BRIA softphone for IOS
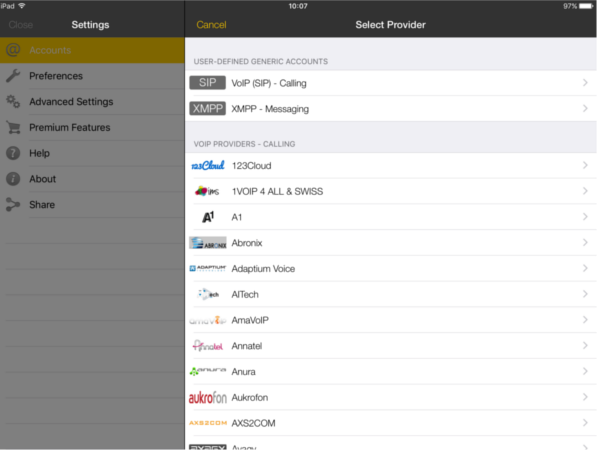
- Install BRIA softphone (available in Apple Store);
- Open BRIA and add a SIP account with a remote IP Phone;
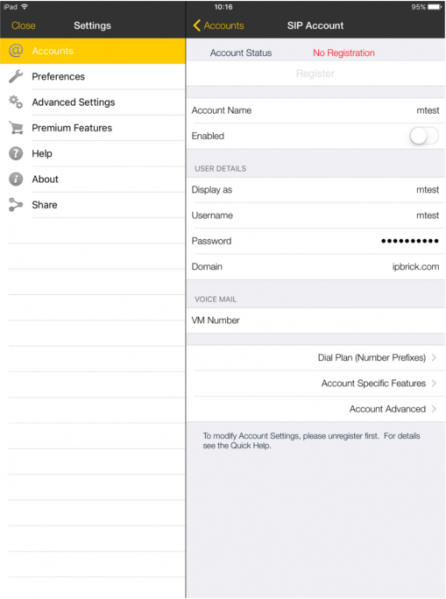
- In Account Status, fill the following fields (according to the previously configured credentials on IPBrick): account name, display as, username, password and domain;
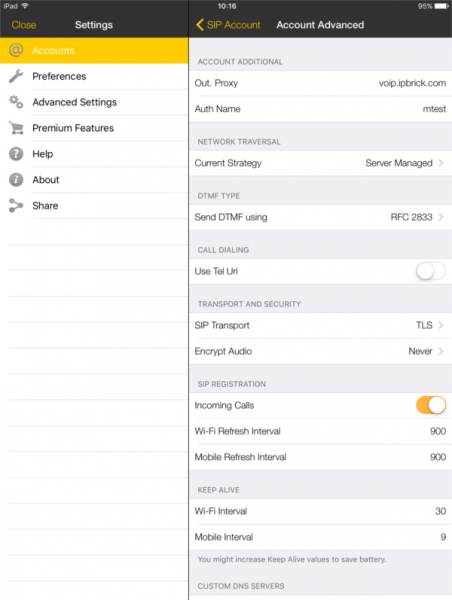
- On the bottom of the page go to Account Advanced and select:
- Define Outbound Proxy and Authorization Name;
- Change SIP transport to TLS.
- Save;
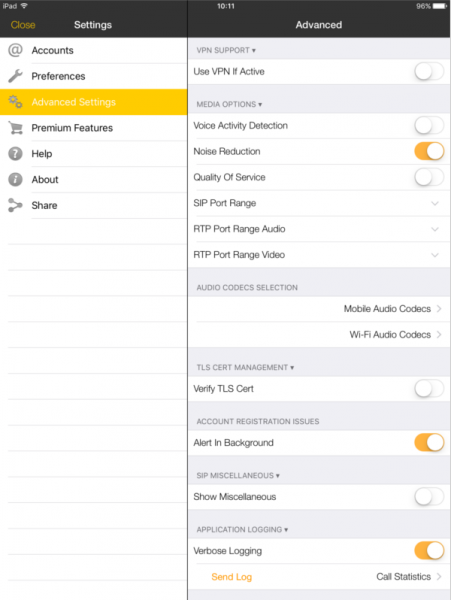
- On your left menu, go to Advanced Settings and verify if TLS Cert is disabled.
- Go back to Accounts, select the "information" icon and Enable the Account.
