|
|
| Line 1: |
Line 1: |
| | '''* * How to make signatures on IPBrickMail * *''' <br> | | '''* * How to make signatures on IPBrickMail * *''' <br> |
| − | '''Access to IPBrickMail'''<br>
| |
| | | | |
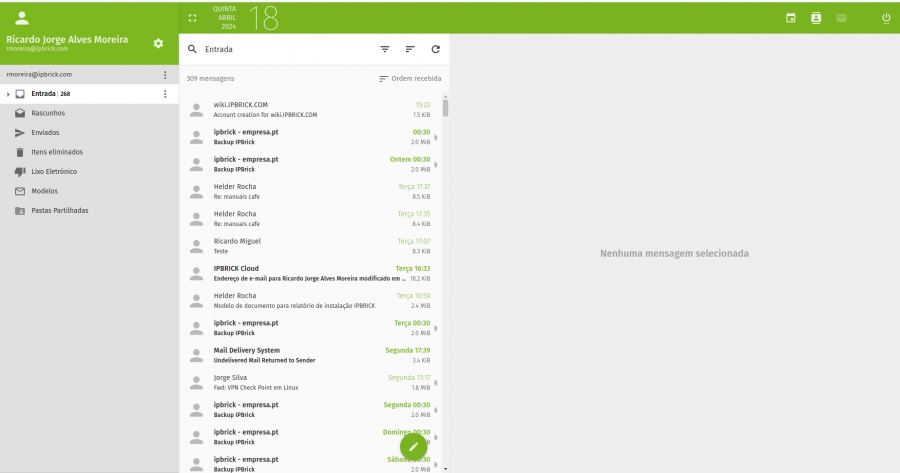
| | + | Access to IPBrickMail<br> |
| | + | |
| | + | [[File:Ipbrickmailinteface.PNG|900px]] |
| | | | |
| | Select the configurations button<br> | | Select the configurations button<br> |
| − |
| |
| − | [[File:IOS 1.PNG|350px]]<br>
| |
| − | [[File:IOS 2.PNG|350px]] [[File:IOS 3.PNG|350px]]<br>
| |
| − | [[File:IOS 4.PNG|350px]] [[File:IOS 5.PNG|350px]]<br>
| |
| − | [[File:IOS 6.PNG|350px]] [[File:IOS 7.PNG|350px]]<br>
| |
| − | [[File:Ipbrickmailinteface.PNG]]
| |
| − |
| |
| − | After entering the data shown above, the advanced settings menu will appear. <br>
| |
| − |
| |
| − | [[File:IOS 8.PNG|350px]] [[File:IOS 9.jpeg|350px]]<br><br>
| |
| − |
| |
| − | To fill in the "Account URL" input field, you need to access IPBRICK MAIL in your browser and follow the following steps.<br>
| |
| − | In the top bar select the calendar icon <br>
| |
| − |
| |
| − | [[File:IOS-10.png|700px]]<br>
| |
| − | Open the following submenu<br>
| |
| − | [[File:IOS 11.png|600px]]<br>
| |
| − | Copy the CalDAV URL only up to your username. In the example given, up to "marketing".<br>
| |
| − | [[File:IOS 12.png|600px]]<br>
| |
Revision as of 15:56, 18 April 2024
* * How to make signatures on IPBrickMail * *
Access to IPBrickMail
Select the configurations button
